
Table of Contents
- Why Tankless Water Heaters Save Space: The Real Numbers
- Step 1: Measure Your Installation Area and Calculate Usable Space
- Step 2: Find the Best Place to Install a Tankless Water Heater
- Step 3: Check Tankless Water Heater Dimensions and Clearance Requirements
- Step 4: Plan Venting, Gas, and Electrical Connections Before You Install
- Step 5: Sizing a Tankless Water Heater for Small Apartments and Tight Homes
- Common Mistakes That Waste Space and Money
- Conclusion: Reclaim Your Floor Space With a Tankless System
- Frequently Asked Questions
Last Updated: October 16, 2026
Why Tankless Water Heaters Save Space: The Real Numbers
A tankless water heater heats water on demand instead of storing it in a tank.
The average tank-style heater holds 40 to 50 gallons in a steel cylinder roughly 5 feet tall and 2 feet wide.
The short version: a tankless system can free up real floor space, but only if you plan the location, clearances, and connections before you buy.
Below are five steps to get it right, plus the mistakes that cost people space and money.
Step 1: Measure Your Installation Area and Calculate Usable Space
Start with a tape measure, not a shopping cart. This step produces two honest numbers: the floor area your tank occupies now, and the net floor area you actually gain after the tankless unit, its venting, and its service clearance. Those numbers are rarely the same, and the difference surprises most homeowners.
Measure the tank you have now
A storage tank is a cylinder, so measure the base diameter and the height to the top of the tank (not the flue). A typical 40- to 50-gallon unit stands about 5 feet tall with a base roughly 2 feet across. To get the floor footprint, square the diameter:
- 2 ft diameter → about 4 sq ft of floor
- 2.25 ft diameter → about 5 sq ft of floor
- 2.5 ft diameter → about 6.25 sq ft of floor
That footprint is gross space, not the space you get back.
Measure the wall you want to use
On the candidate wall, record four numbers:
- Clear width between obstructions (a water softener, a slop sink, an electrical panel, a door frame).
- Clear height from the floor to the lowest obstruction above (a shelf, a beam, a duct).
- Depth available from the wall face to the nearest object in front of it.
- Door swing or traffic path, the arc a door or a person needs.
A wall-mounted unit is only a few inches deep, so depth is rarely the constraint. Width, height, and the service zone in front are.
Calculate net usable gain, not gross footprint
Use this worksheet:
- Gross tank footprint: ______ sq ft
- New floor space given up (drain pan, condensate pump, a filter, a recirculation pump, or a relocated expansion tank): ______ sq ft
- Net floor gain: gross footprint − new floor space given up = ______ sq ft
Then check the wall side of the ledger. A tankless unit needs a clear service zone in front, commonly around 24 inches, but confirm it in your model’s manual. If that zone lands in a storage closet, you have not gained the closet back; you have converted it into mechanical space.
A worked example
Say you pull out a 50-gallon tank with a 2 ft base (about 4 sq ft of floor) in the corner of a utility room.
Change one variable: the only viable wall is inside a 3 ft wide closet, and the service clearance consumes most of the closet floor. Your net gain can drop to near zero, because you traded a tank corner for a mechanical closet.
Measure the wall, then measure it again with the door open and with a full-size laundry basket or trash can in the path. A unit that fits the wall but blocks the door swing or the traffic lane is not a space win.
Write both numbers down before you shop. If the net gain is small, a point-of-use unit under a sink may free more usable space than a whole-home unit on a crowded wall.
Step 2: Find the Best Place to Install a Tankless Water Heater
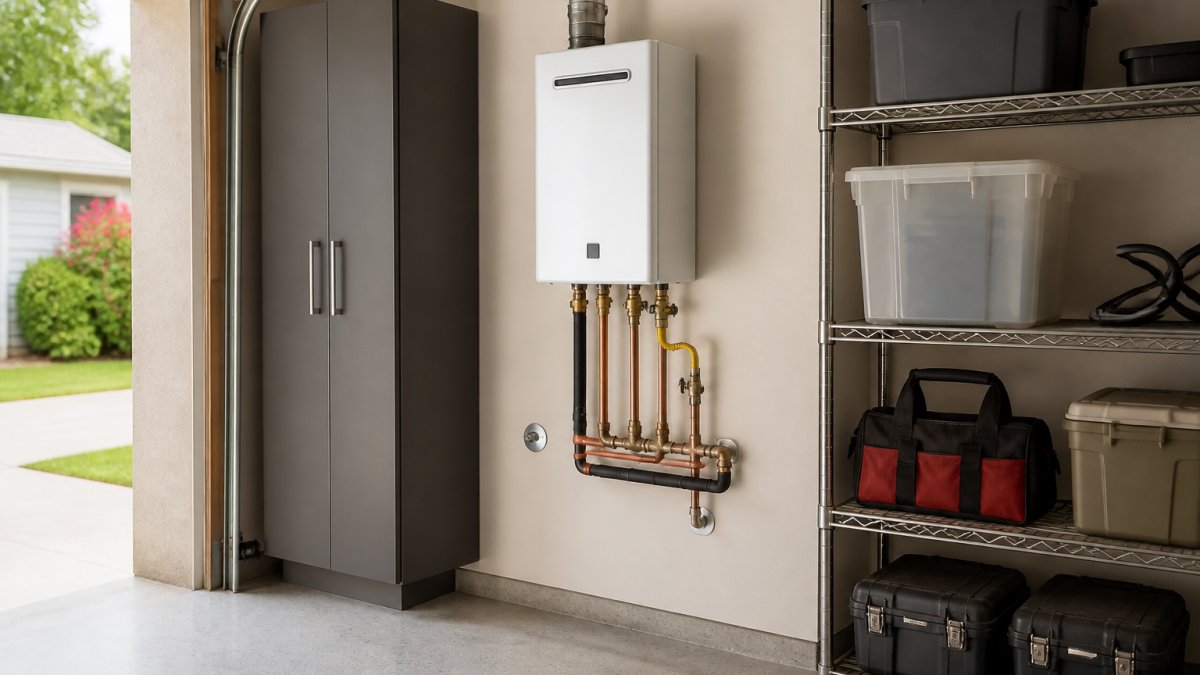
The best place to install a tankless water heater is a spot with strong venting, gas or power access, and room to service the unit, a utility room, garage, or dedicated closet near your main water lines.
Location decides whether you actually save space. A great unit in the wrong spot wastes the whole project.
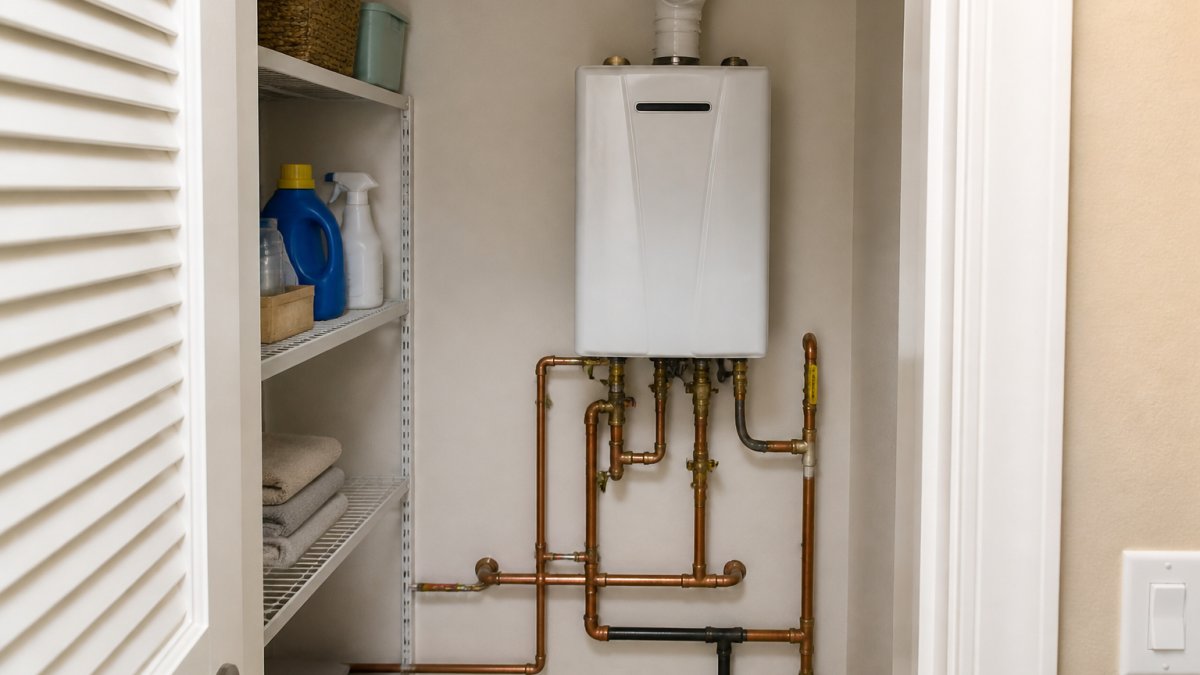
Utility Room, Garage, and Closet Options
Each spot has trade-offs. Here is how they compare:
| Location | Space Saved | Pros | Cons |
|---|---|---|---|
| Utility room | High | Central, easy plumbing access | May already be crowded |
| Garage | High | Frees indoor space, easy venting | Can get cold in winter |
| Closet | Medium | Hidden, tidy look | Tight clearances, hard to service |
| Outdoor wall | High | Zero indoor footprint | Weather exposure, freezing risk |
A closet install looks clean but is the hardest to get right, you need clearance for airflow and repairs.
If you are unsure, a licensed plumber can map the best spot in about an hour, far cheaper than moving a unit later.
Step 3: Check Tankless Water Heater Dimensions and Clearance Requirements
Tankless water heater dimensions vary by model and fuel type, but the cabinet is almost never the problem. The clearance envelope around it is, the empty volume needed for airflow, venting, and a technician’s hands and tools. Plan the envelope first, then pick a unit that fits inside it.
Typical cabinet dimensions
Most residential units fall in these ranges:
- Width: about 17 to 24 inches
- Height: about 24 to 28 inches
- Depth: about 8 to 11 inches off the wall
Condensing gas units tend to be larger and heavier than non-condensing models because of the secondary heat exchanger; electric units are often slimmer but taller. Always pull the spec sheet for the exact model before committing to a wall.
The clearance envelope you must reserve
Clearances come from two sources: the manufacturer’s installation manual and your local code. Where they disagree, the stricter one governs. Common minimums include:
- Front (service access): often around 24 inches of clear space so a technician can remove the front cover and reach the connections
- Sides: a few inches of gap for airflow and for getting tools onto the fittings
- Top: several inches to clear the vent collar and any flue adapter
Add those numbers to the cabinet dimensions and you get the true footprint. A 20-inch-wide unit with a few inches of side clearance and a 24-inch service zone in front effectively claims a 2 ft × 2 ft patch of floor plus the wall above it.
Why the wall behind the unit matters
A tankless unit is heavy when filled with water and usually mounts on a bracket into framing, so the wall must carry that load and the vent and water connections must route somewhere. On an exterior wall you may terminate the vent straight out the back, the cleanest layout. On an interior wall the vent travels up, sideways, or both, and that path can eat a cabinet or closet shelf.
Combustion air and venting trade-offs
A gas unit needs both a way to bring in combustion air and a way to exhaust. Options include:
- Direct vent (two-pipe): pulls outside air in and pushes exhaust out, so it does not steal conditioned air from the room
- Single-pipe power vent: draws combustion air from the room, which means the space needs adequate ventilation
- Outdoor mount: no indoor venting at all, but the unit is exposed to weather and freezing risk
An electric unit skips venting entirely, a genuine advantage in a tight closet. The trade is electrical capacity: most need a dedicated circuit, and larger whole-home models can require a substantial service upgrade. Confirm your panel has the capacity and open breaker slots before you buy.
A practical service-access checklist
Before you finalize a location, walk through it as if you were the technician:
- Can you stand or kneel in front of the unit with the cover off?
- Can you reach the gas valve, the water shutoffs, and the drain without removing anything?
- Is there a light and an outlet nearby?
Ignoring clearance rules can void your warranty and fail inspection. A unit boxed in too tight can also overheat, short-cycle, or shut down. The U.S. Department of Energy guide to tankless water heaters explains how these units work and why venting matters, and the U.S. Consumer Product Safety Commission notes that fuel-burning appliances must be vented correctly to prevent carbon monoxide risks.
If the only wall that works fails one of these checks, the honest answer may be that a tankless conversion will not save you space there. Better to learn that from a tape measure and a manual than a failed inspection.
Step 4: Plan Venting, Gas, and Electrical Connections Before You Install
Venting is the step most people underestimate. A gas tankless unit produces exhaust gases that must leave the building safely.
That means a vent pipe, and often a ceiling or roof penetration.
Here is what to plan before you buy:
- Venting: direct-vent, power-vent, or outdoor mount, based on your space
- Gas line: gas units need a line sized for the unit’s input
- Electrical: most units need a dedicated circuit and breaker capacity
The U.S. Consumer Product Safety Commission notes that fuel-burning appliances must be vented correctly to prevent carbon monoxide risks.
We handle gas, venting, and electrical planning as one job. Doing it in that order prevents costly rework.
Step 5: Sizing a Tankless Water Heater for Small Apartments and Tight Homes
A tankless water heater for small apartments is sized by flow rate, not tank size, how many gallons per minute the unit can heat at a given temperature rise.
Get this wrong and you save space but lose hot water. Two numbers drive the choice:
- Flow rate (GPM): total demand of all fixtures running at once
- Temperature rise: how much the unit must heat incoming water
Add up your fixtures. A shower uses about 2 GPM. A kitchen sink adds about 1.5 GPM. Running both means you need at least 3.5 GPM.
Colder incoming water needs a higher temperature rise, which lowers deliverable flow rate.
Size for the fixtures you run at the same time, not for the whole house. That is how small homes get hot water without overspending.
Common Mistakes That Waste Space and Money
The biggest mistake is buying the unit before planning the location. Size, venting, and clearance all depend on where it goes.
Other space-wasters we see often:
- Mounting a unit where the door or a shelf blocks service access
- Forgetting the vent pipe path and losing a cabinet to it
- Choosing a unit too small, then adding a second one later
A common mistake is treating “tankless” as automatically smaller in practice. On the wall, yes. But if the install eats a closet and a cabinet, your net gain shrinks fast.
Plan the whole system, and the space savings hold up.
Conclusion: Reclaim Your Floor Space With a Tankless System
Freeing up floor space takes planning, not luck. Measure first, pick the right location, respect clearances, and size the unit for how you actually use hot water.
When you want it done right the first time, Alpha Rooter & Plumbing can help. We offer 24/7 emergency service, upfront pricing with no hidden fees, and a response time under 90 minutes.
CALL NOW and reclaim your space with a tankless system built for your home.
Frequently Asked Questions
How much space can a tankless water heater save compared to a tank model?
A conventional 50-gallon tank water heater takes up roughly 4 to 6 square feet of floor space and stands about 5 feet tall. A tankless unit is typically 18 to 28 inches wide, 10 to 17 inches tall, and 8 to 10 inches deep, and it mounts on a wall. That frees up nearly all of the floor space the tank once occupied, which is enough for a shelf, appliance, or storage cabinet in a utility room or closet.
Where is the best place to install a tankless water heater in a small home?
The best place to install a tankless water heater is usually a utility room, garage wall, or closet near the main gas line and existing plumbing. For small apartments, a point-of-use unit under a kitchen or bathroom sink works well when a whole-home system is not practical. Keep the unit within reach of a vent path and a power source, and leave the required service clearance in front of it.
What are the downsides of having a tankless water heater?
Tankless units cost more upfront than tank models, and installation can require upgrades to your gas line, electrical panel, or venting. Flow rate matters: running a shower and a dishwasher at the same time may exceed the unit’s capacity. Some homeowners also notice a short delay before hot water reaches the tap. Proper sizing and placement solve most of these issues, but they add to the installation scope.
Can a tankless water heater be installed in a closet?
Yes, a tankless water heater can go in a closet if the unit has enough clearance for air intake, exhaust, and service access. Most manufacturers require 6 to 12 inches of clearance around the unit and 24 inches of front access. The closet also needs a vent path for exhaust gases and, for gas units, adequate combustion air. Check your local code and the manufacturer’s manual before framing or drilling.